Google Search Console is a tool to help you measure your website’s performance and traffic.
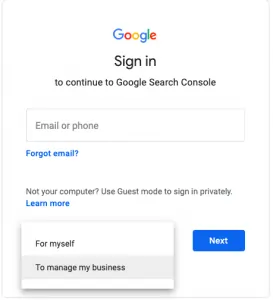
Open an incognito window and Go to Search Console to create an account (choose “To manage my business”)
select Use my current email address instead
name: info, offert or bilgi
last name: website name
password: Panter123
NOTE: Use your real domain. If it has special characters make sure to change it to puny code. For example, for redovisningsbyråjönköping.se, your email address for registration will be offert@xn--redovisningsbyrjnkping-25b32bc.se
Go to the mailbox and use the verification code (login info will be shared with you on Dashlane)
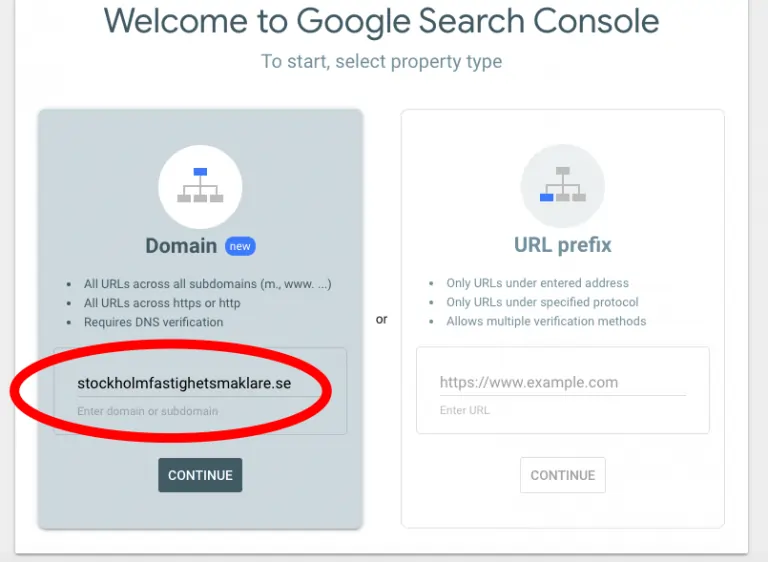
Select property type > your domain > continue
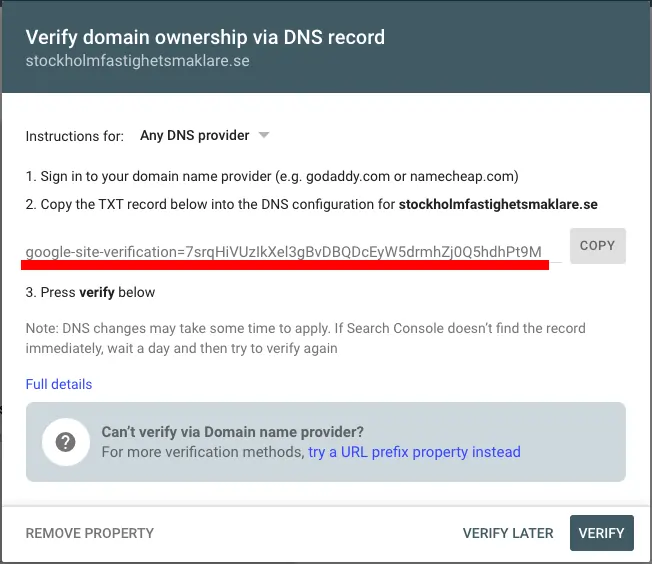
Copy the snippet
Add it as TXT in NameISP DNS/Redirecting then Save&Publish
Go back to console and verify domain (this may take a while so do not close the incognito window)
Verify domain. Share with people if needed ( full permission) by clicking on Settings > Users and Permissions > Add User
b) Google Analytics Setup
Go to Google Analytics account (login info will be shared with you on Dashlane)
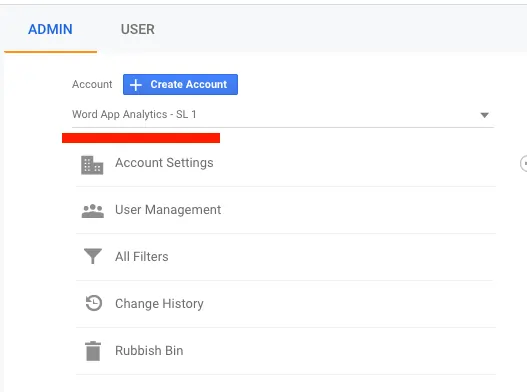
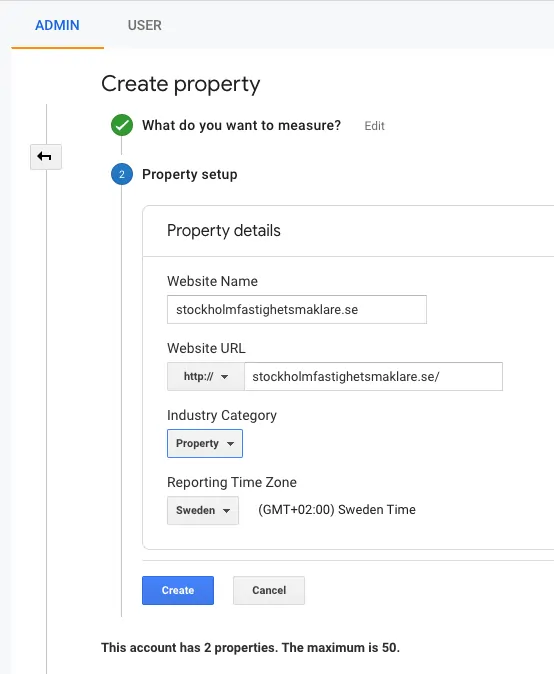
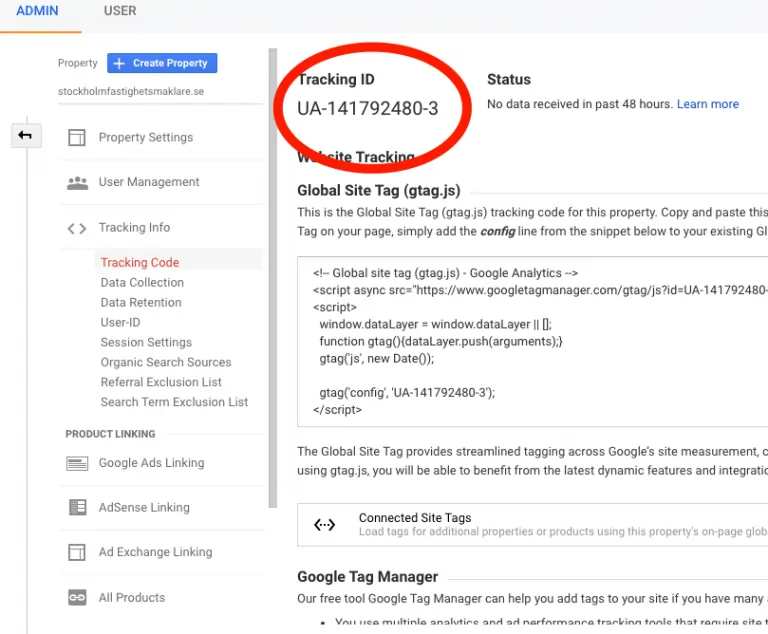
Create property (account name:stockholmfastighetsmaklare.se) and Get the Tracking ID in Google Analytics by clicking on the cogwheel icon
Be sure that you choose the right group
and Create Property (Select web when prompted )
– The name is the website URL
– Select HTTPS for URL (NOTE: if domain has special characters make sure to convert your url to puny code from here https://www.punycoder.com/ for example redovisningsbyråjönköping.se will be xn--redovisningsbyrjnkping-25b32bc.se )
– Choose the reporting time zone (depending on the website)
Add the Tracking ID to Website Manager. ( wordapp.com > website manager > search for the related site and select > analytics tab > settings tab ) Make sure that Wordapp plugin version is 1.4.2 or higher before adding the code