Home / Wordapp Business Account
Wordapp Account
Here is all you need to know about your Wordapp Business account.
Business Dashboard
When you log in the Business Dashboard will welcome you. You will be able to see all the details of your projects and transaction here. The amount that is showed at the top right corner is your freelancer balance. You can use the hamburger menu to access subsections. Let’s start with Account.
Please feel free to reach out to us anytime via live chat (right bottom corner).
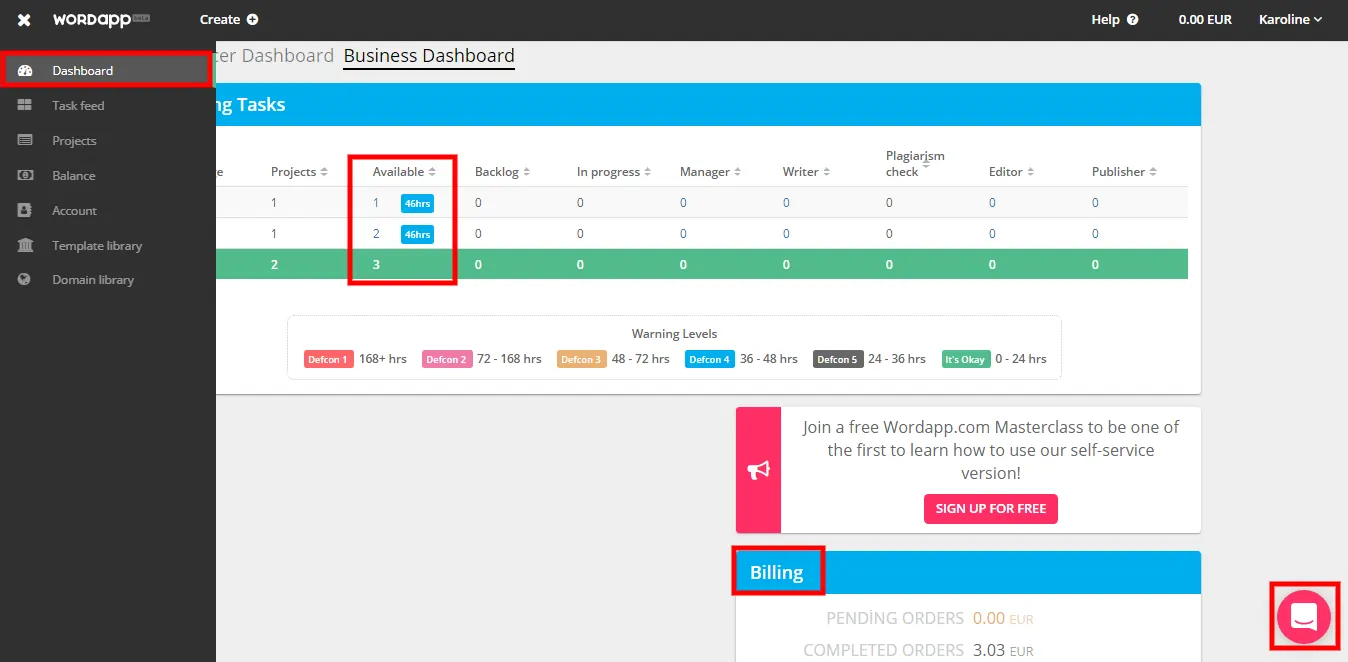
When you click on “Account”, you will find a menu that consists of 6 subsections. You will find general information about your account in the “Account Information” tab.
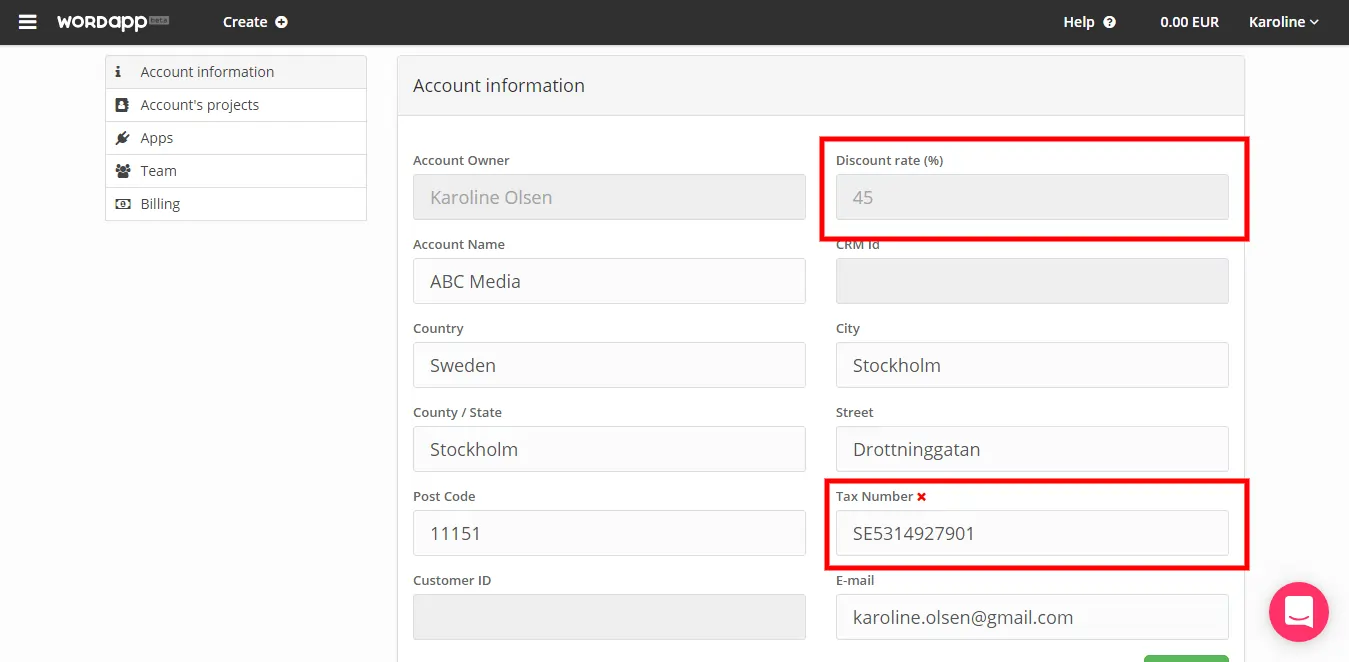
You need to fill contact information, address, and Tax ID related to your business in this section. You can also view the discount rate that is applied to your account here.
In the “Account’s Projects” tab, you can view the ongoing projects in your account. You can view information related to your projects such as completion rate, project owner, latest activity and project status in this section. You can also access the projects from this section quickly and manage them.
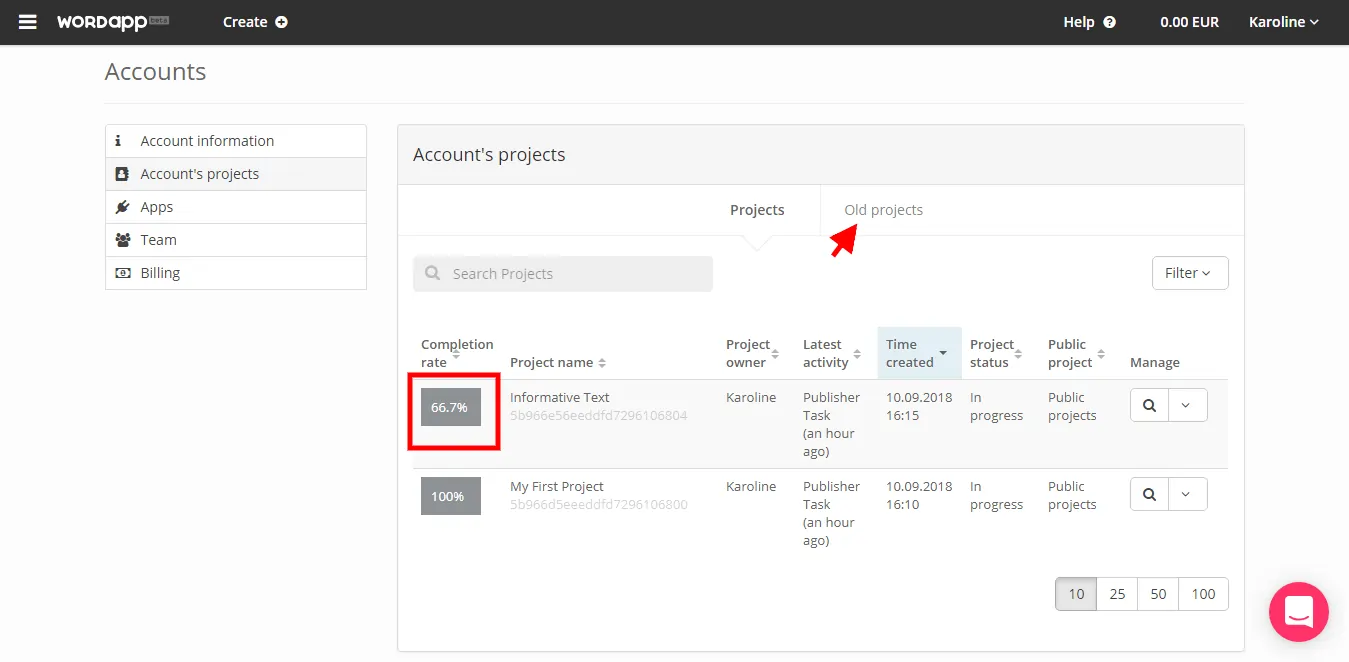
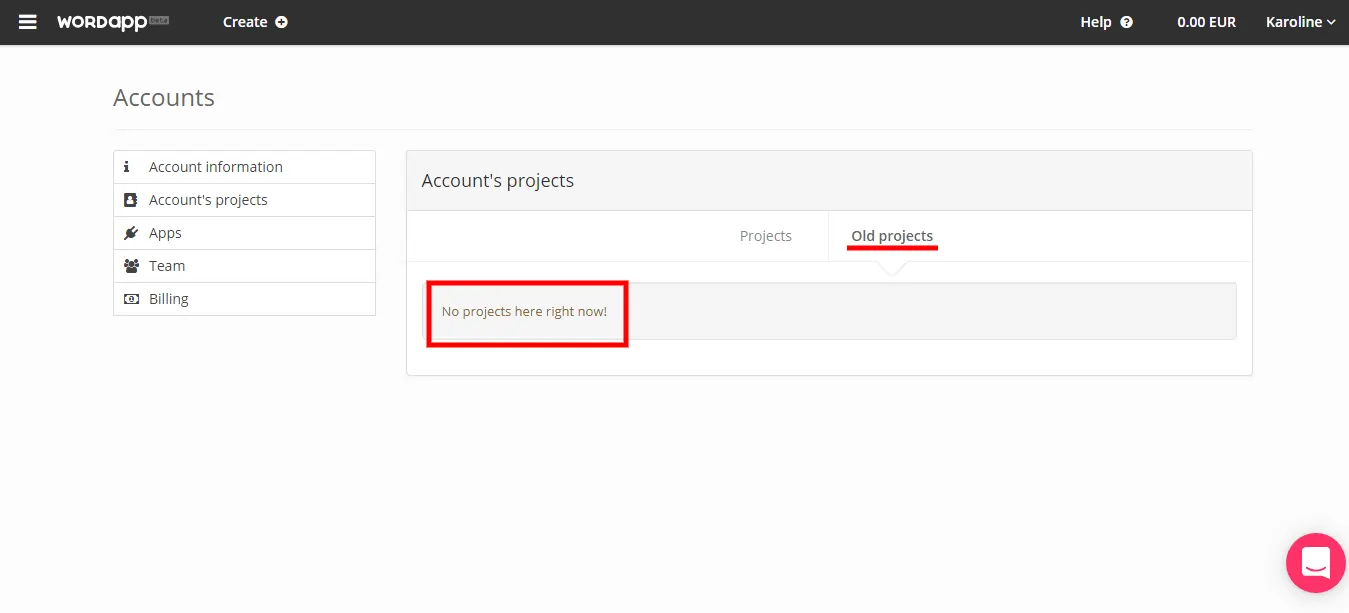
You can access to your old projects by clicking the “old projects” on the top of your screen. From this section, you can view your projects that have been completed and archived.
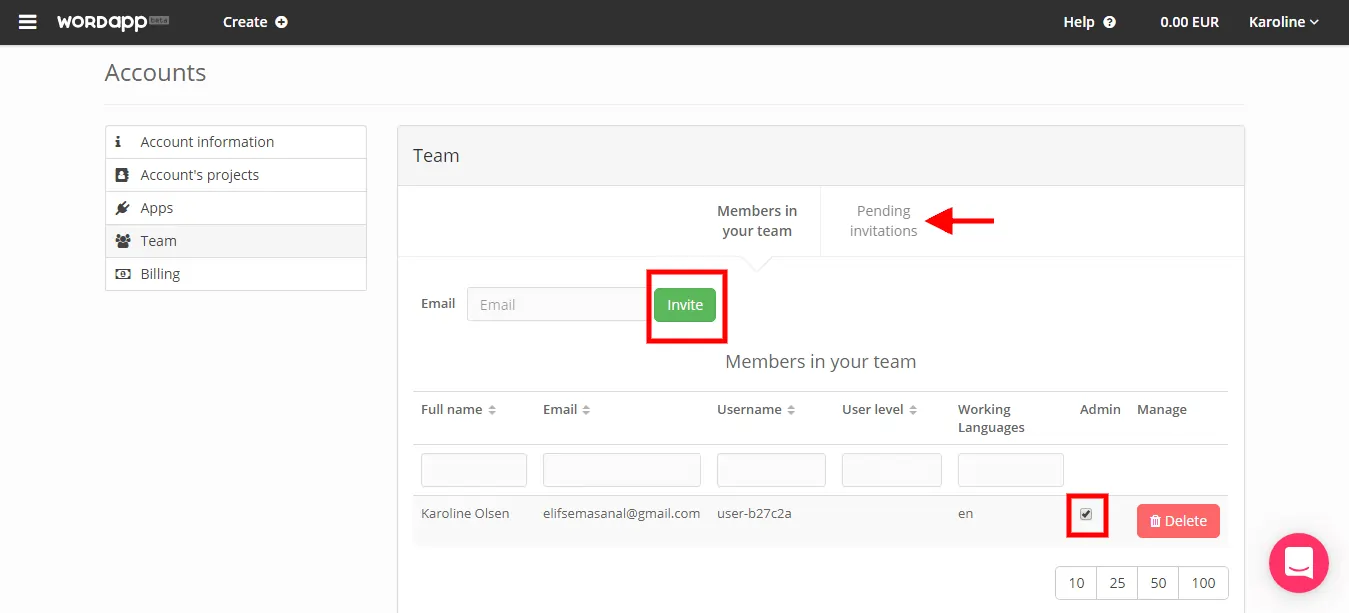
Team section allows you to invite people to your team. This feature allows you to onboard your own team of writers, editors, and publishers. Team members can participate in the projects that have been created under the business account.
You can send an invitation to people by entering their email address and clicking on the “invite” button. Once they accept the invitation from the mail, they will appear in the “members of your team” section. You can give admin authority to your team members by checking “Admin” next to their name. Admin team members have full authority under the business account. This means that they can manage the projects and create new ones. Basically, admins have permission to manage the account’s budget.
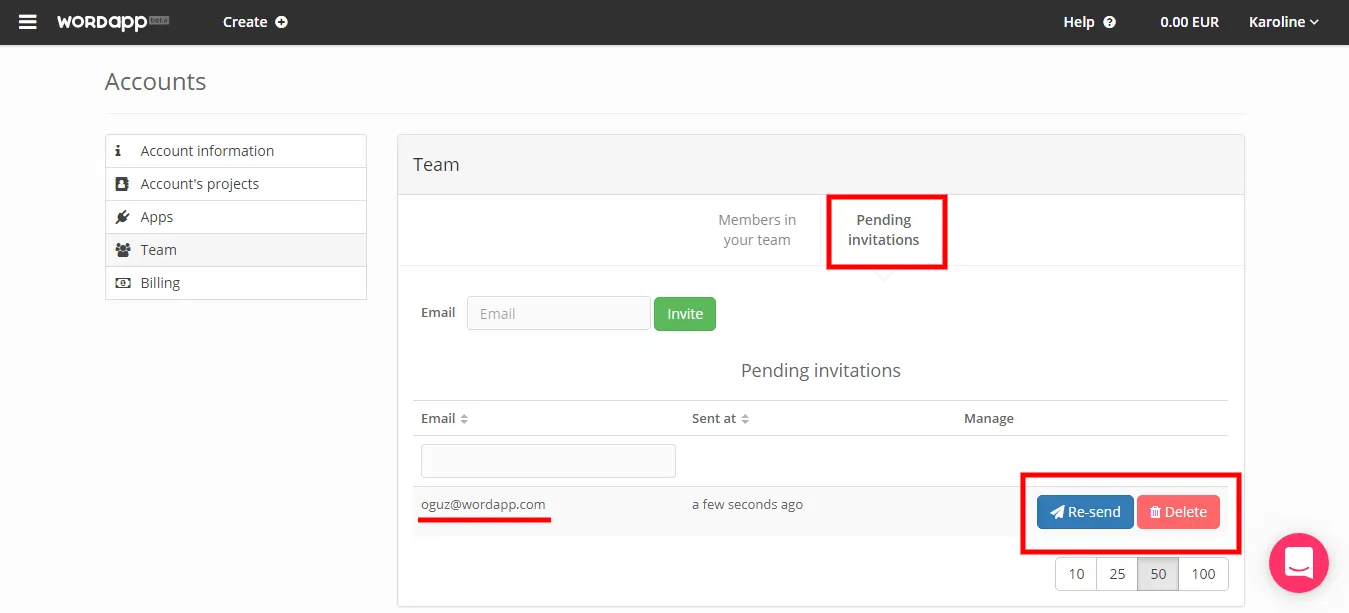
From the “Pending Invitations” section, you can view the invitations that you have already sent. From here, you can delete the invitation by clicking on the red “delete” button or you can re-send the invitation by clicking on the blue re-send button.
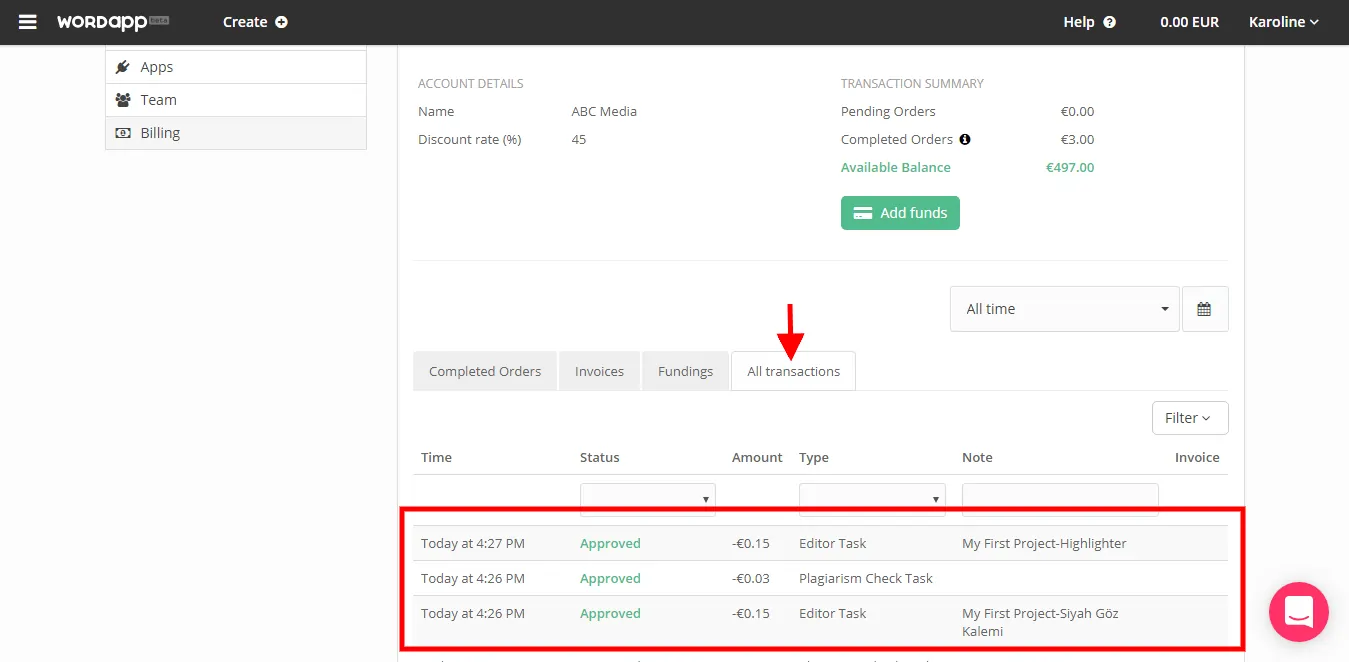
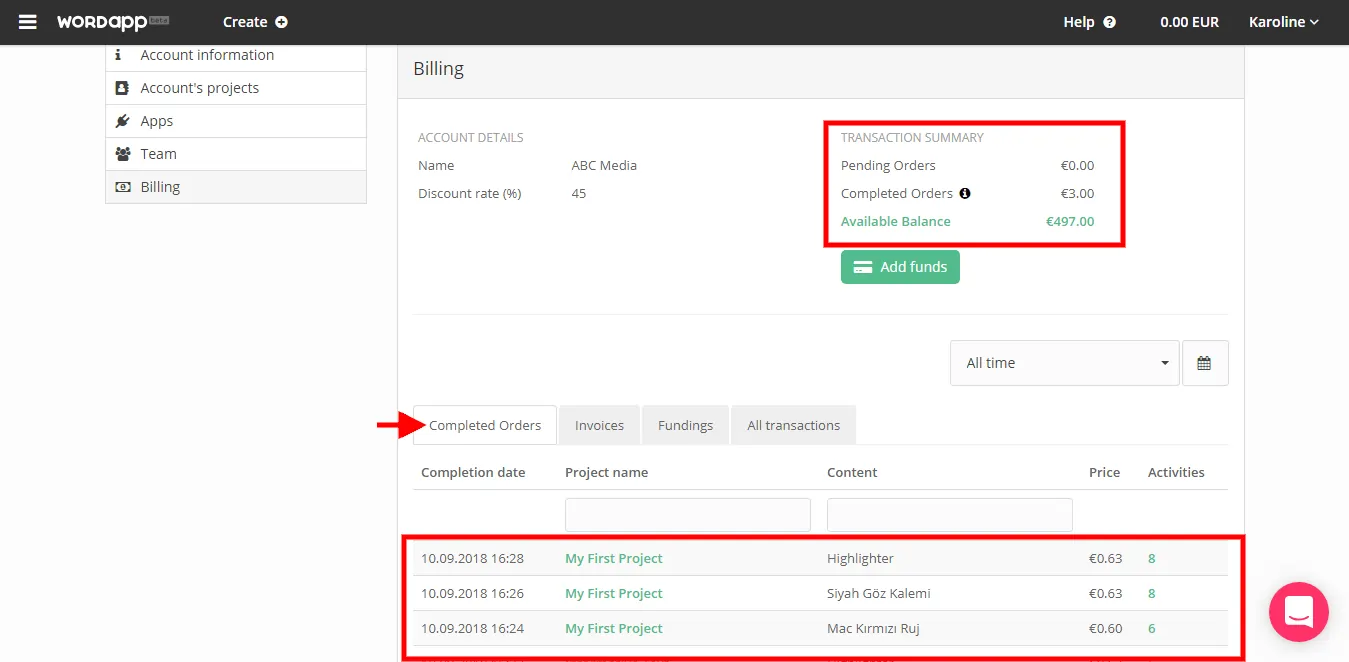
You will find all the monetary information in the Billing section. You can view the available balance in your account. When there is a task in the progress, its cost is shown next to the “pending orders”. Once the task is completed, it goes to “completed orders” and the money is taken from the available balance.
You can also view how much money each task is spending under the “completed orders” section below.
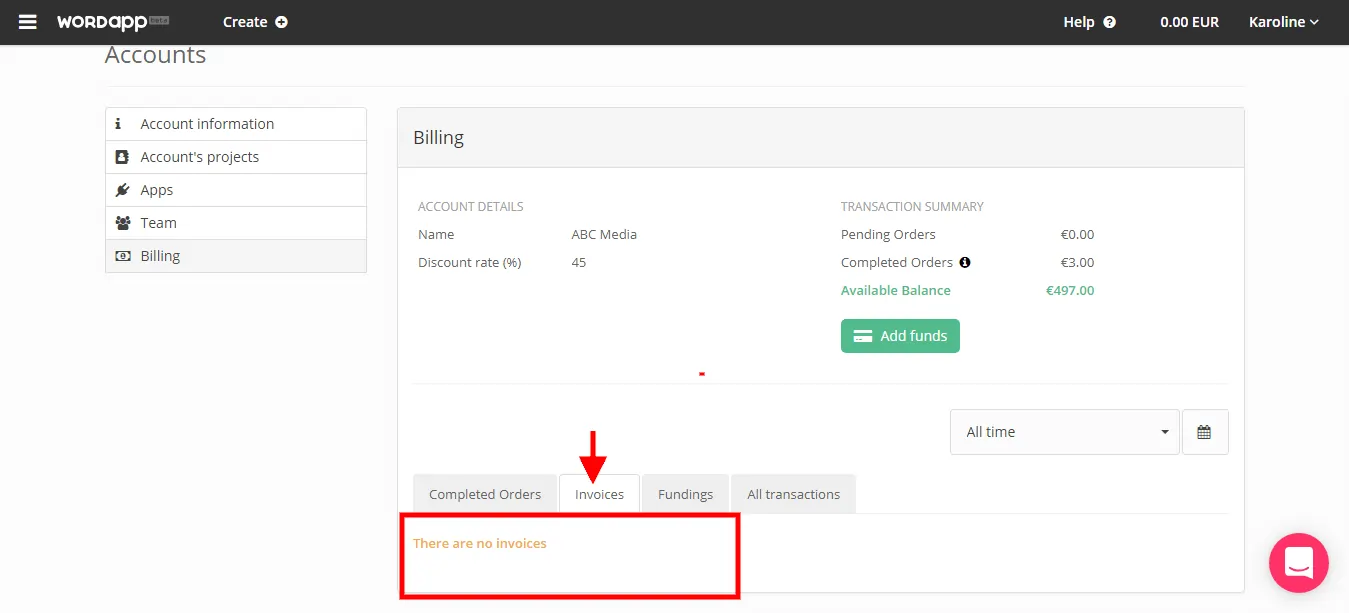
You can view the invoices that have been created for your account under the “Invoices” section. Invoices are sent monthly. If you’d like to receive an invoice right away, please, contact us.
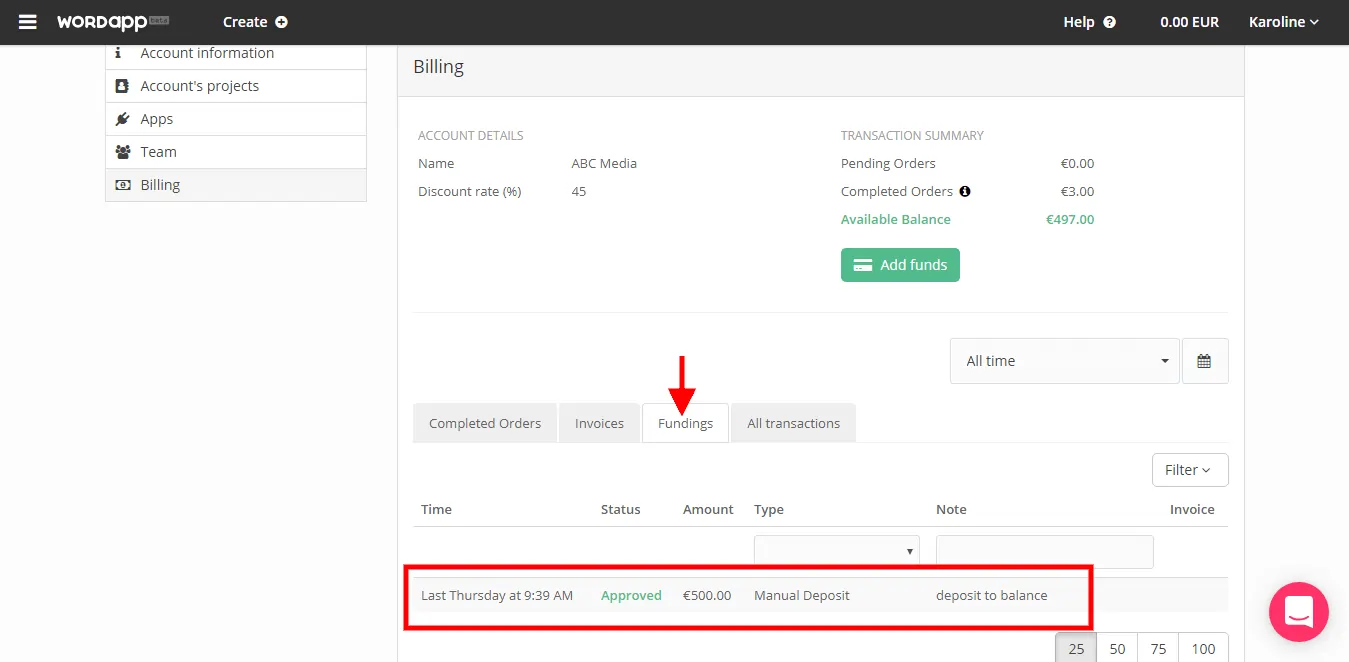
Under the “Fundings” section you will see the deposit information for your account. You can view how much balance was added to your account and the relevant information from this section. You can filter this section by “manual deposit” and “fundings”.
All Transactions section allows you to keep track of your balance. You can view how much is spent on each specific action.
